
The Best Way to Hang Plants from Your Ceiling for Small Spaces

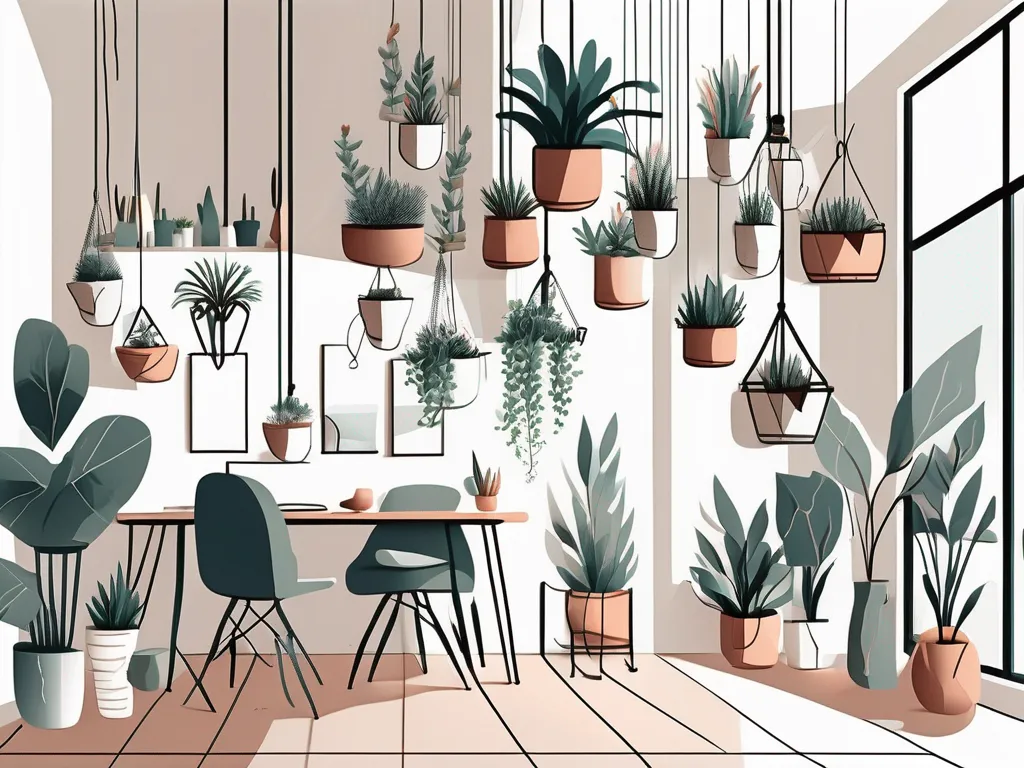
Hanging plants from your ceiling is a great way to add greenery and personality to your small space. Whether you live in a tiny apartment or just want to spruce up a limited area, there are plenty of options to consider. In this article, we will guide you on the best way to hang plants from your ceiling for small spaces. From selecting the right plants to ensuring secure installation, we've got you covered every step of the way.
If you have limited space, opting for compact plants is the way to go. These smaller varieties are not only easier to manage but also fit perfectly in small spaces. There are numerous small plant varieties that are adaptable to different environments. Let's explore some of the best options below.
1. Succulents - These beauties come in various shapes and sizes, making them ideal for hanging planters. They require minimal maintenance and can thrive in low light conditions.
2. Air Plants - Air plants are fascinating as they don't require soil to grow. These little wonders can be easily suspended from the ceiling, creating a unique and eye-catching display.
3. Spider Plants - Spider plants are known for their long, cascading foliage. They are low-maintenance and can tolerate different light levels, making them a popular choice for indoor hanging plants.
4. String of Pearls - With its delicate strands of pearls cascading down, the String of Pearls is a stunning hanging plant choice for small spaces. Place it near a sunny window for optimal growth.
When it comes to choosing compact plants for limited spaces, there are a few more options worth considering. One such option is the Pothos plant, also known as Devil's Ivy. This plant is known for its trailing vines and heart-shaped leaves. It is a great choice for hanging baskets or placing on shelves, as its vines can gracefully cascade down.
Another compact plant that thrives in small spaces is the Peace Lily. This elegant plant features dark green leaves and stunning white flowers. It is not only visually appealing but also known for its air-purifying properties. The Peace Lily is a perfect addition to any small room or office space.
If you're looking for a plant that adds a touch of color to your limited space, consider the African Violet. These small, flowering plants come in a variety of vibrant colors, including purple, pink, and white. They are relatively easy to care for and can be placed on windowsills or small tables.
For those who prefer a touch of uniqueness, the Venus Flytrap is an intriguing choice. This carnivorous plant captures and digests insects, making it a fascinating addition to any small space. It requires bright light and high humidity, so placing it near a window or using a humidifier can help it thrive.
Lastly, the Snake Plant is a hardy and versatile option for limited spaces. With its upright, sword-like leaves, it adds a touch of elegance to any room. The Snake Plant is known for its air-purifying abilities and can tolerate low light conditions, making it an excellent choice for offices or bedrooms.
Before you start hanging your plants, it's essential to go through a few important steps. These preparations will ensure the successful installation and longevity of your hanging plants:
Now that you have assessed the strength of your ceiling and chosen the perfect planters for your space, it's time to dive deeper into the preparations for hanging your plants. These additional steps will ensure that your plants not only look beautiful but also thrive in their new hanging environment.
1. Determining the Ideal Hanging Locations
Before you start drilling holes in your ceiling, take some time to decide on the ideal locations for hanging your plants. Consider factors such as natural light availability, plant size, and the overall aesthetic you want to achieve. By strategically placing your plants, you can create a visually pleasing arrangement that enhances the ambiance of your space.
2. Preparing the Ceiling Surface
Once you have determined the hanging locations, it's important to prepare the ceiling surface for installation. Clean the area thoroughly to remove any dust or debris that may interfere with the hanging process. If your ceiling has a textured finish, consider using a stud finder to locate the most secure spots for drilling.
3. Choosing the Right Hanging Hardware
When it comes to hanging your plants, the type of hardware you choose plays a crucial role in ensuring their stability. Depending on the weight of your planters, you may need to use heavy-duty hooks or anchors to provide adequate support. It's always better to err on the side of caution and opt for stronger hardware to prevent any accidents or damage.
4. Taking Care of Plant Health
Before installing your plants, it's essential to ensure their health and well-being. Check the plants for any signs of pests or diseases and treat them accordingly. Additionally, consider the specific needs of each plant, such as watering requirements and light preferences. By providing the right care from the beginning, you set your hanging plants up for long-term success.
5. Considering Plant Rotation and Maintenance
While hanging plants can add a stunning touch to any space, it's important to remember that they require regular maintenance. Consider how you will rotate your plants to ensure even growth and prevent them from leaning towards the light source. Additionally, plan for regular watering, fertilizing, and pruning to keep your hanging plants healthy and vibrant.
By following these additional steps, you can ensure that your plant installation process is thorough and well-planned. Taking the time to prepare properly will not only enhance the visual appeal of your space but also contribute to the overall health and longevity of your hanging plants.
Locating a stud is crucial for secure plant placement, especially if you're hanging heavier planters. A stud finder is a handy tool that will help you find the most suitable spots on your ceiling. Here's how to ensure secure plant placement:
When it comes to hanging planters, finding the right spot on your ceiling is essential. Not only does it ensure the safety and stability of your plants, but it also adds a touch of elegance to your home decor. With the help of a stud finder, you can easily locate the perfect spots to hang your planters.
By following these steps, you can confidently hang your planters knowing that they are securely fastened to the ceiling. Not only will your plants thrive in their new elevated positions, but your home will also exude a sense of style and sophistication.
Now that you've elevated your greenery, why not elevate your sleep experience with Quagga Designs? Our easy-to-assemble bed frames, made in Canada, are the epitome of convenience and sustainability. With no hardware needed for our No-Fuss Plus and Tic-Tac-Toe beds, you'll spend more time enjoying your restful oasis than setting it up. In less than 10 minutes, you can assemble a bed frame that grows with your needs, from single to king size. Our environmentally conscious approach uses natural soy-based glue and FSC Certified wood, ensuring you sleep soundly on the cleanest bed frames on the market. Plus, with our highly customizable designs, you can personalize your space just as you've done with your hanging plants. Embrace the "Made in Canada" quality that supports our local economy and discover the Quagga difference. With a 100 night sleep trial and a 5-year warranty, your satisfaction is guaranteed. Check out our products and transform your bedroom into a sanctuary that complements your new lush, hanging garden.


